

Here’s when I’m hoping that the old saying ‘it’s never too late’ rings true!
Back in May (yes, way back then) I posted a tutorial on ‘How to Conceal Dark Circles – Plus the Tools You Need’. I had planned to follow it up a few weeks later with a second tutorial, ‘How to Conceal Crow’s Feet – Plus the Tools You Need’. It’s now the middle of July – Oops!
Crow’s feet, like dark circles, are a beauty bane for many of us. As I mentioned in my previous tutorial, the first is directly related to ageing (skin loses collagen/elastin and so wrinkles form) and while the second isn’t, they can get worse as we age because skin becomes thinner.
What I find particularly cruel about crow’s feet, is that they show up more when we smile (hence the other term sometimes used to describe them, "laughter lines"). Usually we laugh when we’re happy and there’s nothing funny or joyous about crow’s feet!
So, how to be rid of them? I’ve heard many dermatologists say that Botox is the only treatment that will truly get rid of crow’s feet (by temporarily freezing the muscles). But for those of us who don’t want to go down the invasive procedure route, there are some great skincare and makeup products available that with clever application will better conceal them.
Over the years I’ve picked up numerous product recommendations and application tricks from professional make-up artists and magazine articles, as well as from a bit of my own research and experimentation. The secret to minimising those pesky lines is all to do with keeping them as hydrated as possible, and using as little make-up as possible.
So, without further ado, here’s a quick tutorial:
Step 1 - Apply a Primer

A good primer will smooth over fine lines around the eyes (and anywhere else) and provide a perfect base for foundation. I like Benefit’s POREfessional (pictured), £24.50 for 22ml here. Another great choice is Laura Mercier’s Foundation Primer, but I’d get the hydrating version as it has extra moisturising properties - £29 for 50ml here.
Step 2 – Apply Eucerin Aquaphor Soothing Skin Balm

I have Allure magazine to thank for tipping me off to this. It’s an incredibly hydrating balm that seals in moisture and it’s also non irritating. Apply over the crow’s feet area on top of your foundation primer (use sparingly as it’s thick). Another tip is to apply a bit of this on top of your eye cream at night for an extra boost of hydration. I would not be without a tube of Aquaphor and it’s dead cheap - £9 for 40ml here.
Step 3 – Apply a Concealing Balm
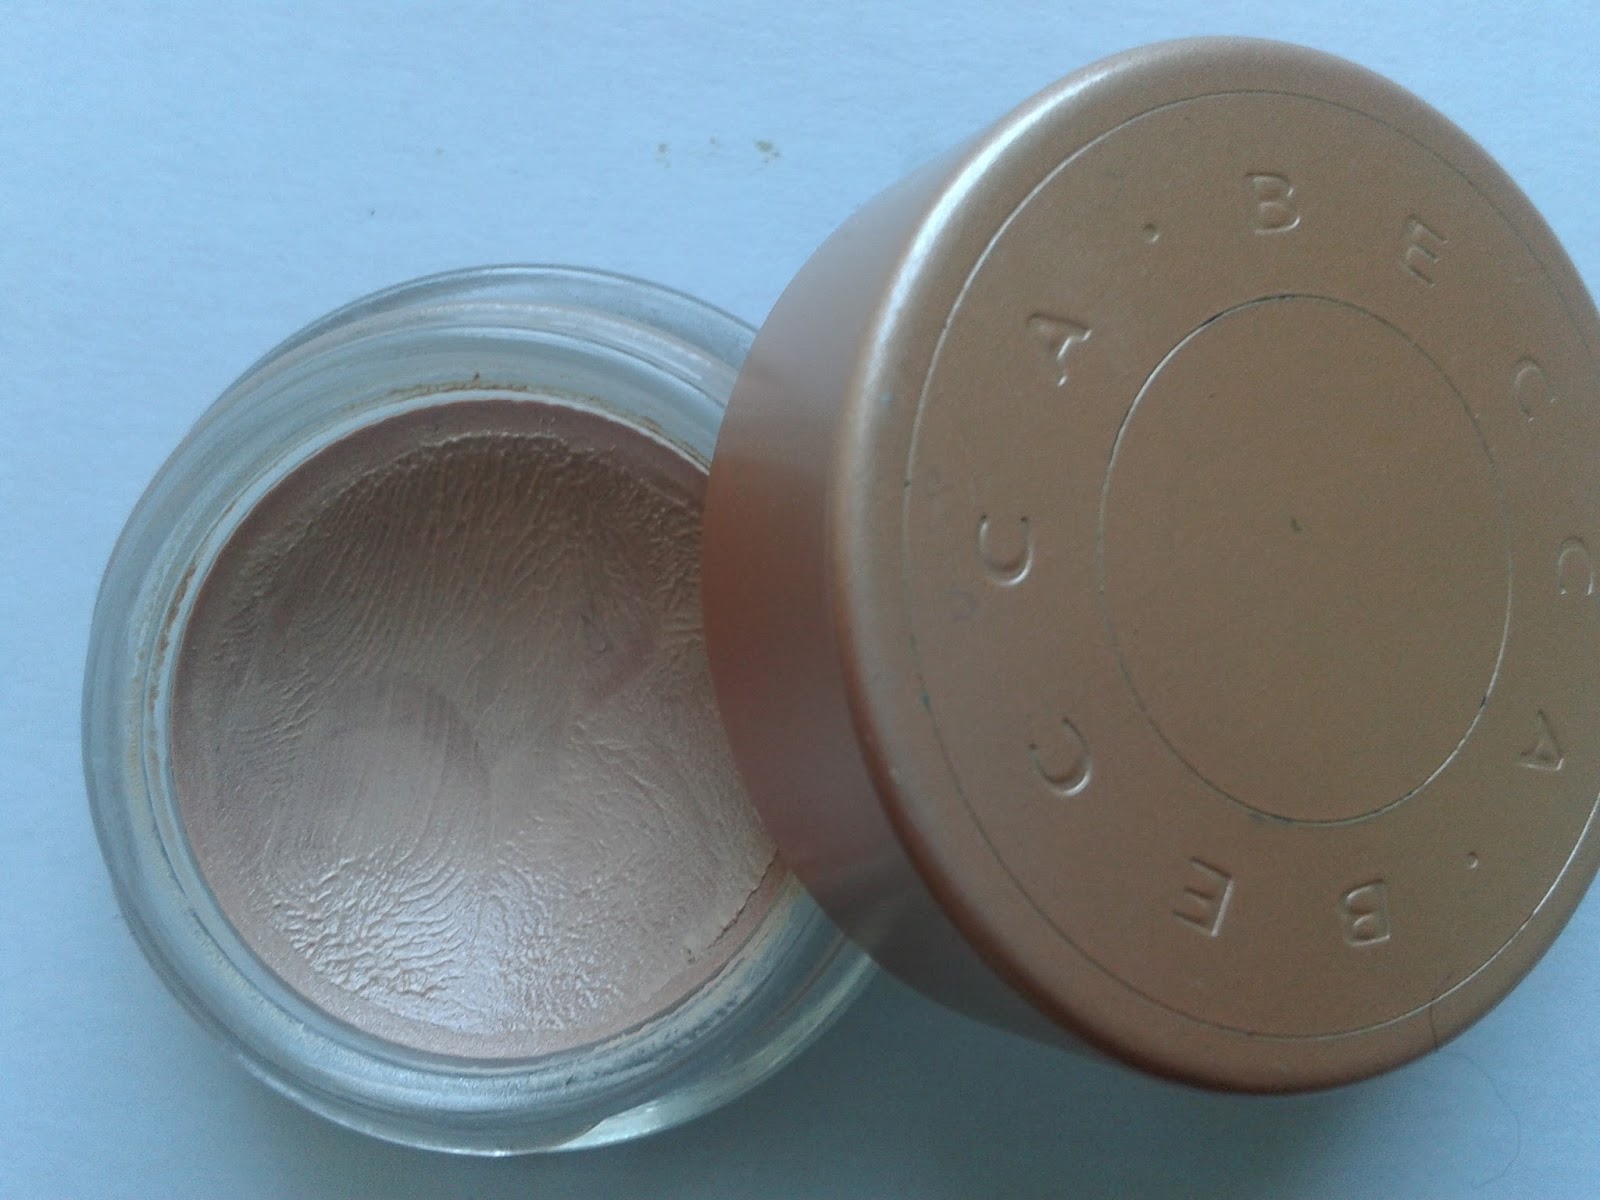

The word ‘balm’ is crucial here. Applying a regular concealer over fine lines is a big ‘no no’ as it can settle into them and make them look worse. But a concealing base like this Becca one is actually a balm and so will further help to seal in moisture, whilst also brightening the whole under eye area (perfect if you have dark circles too). The Becca Under Eye Brightening Corrector corrects, reflects and seals - £19 for 4.5g here.
Step 4 – Apply Concealer in a V shape


A brightening and hydrating concealer can really help to improve the look of the under eye area but where you apply it is crucial. Dab it on over foundation in a V shape from your inner eye corner, to your outer, avoiding those fine lines at all costs. Blend with a concealer brush. I use By Terry’s Terrybly Densiliss Concealer. It’s on the pricey side but it’s oh so hydrating - £44 for 7ml here.
Setp 5 – Apply a Hydrating Finishing Powder

Finishing powders are light , soft and silky. You dust them on at the end. They will soften fine lines and wrinkles, unlike a regular powder which, like a regular concealer, may settle into them and make them look worse. I totally adore By Terry’s Hyaluronic Hydra Powder. Yes, it contains skin plumping hyaluronic acid – you can even use at night before bed! £42 for 10g here.